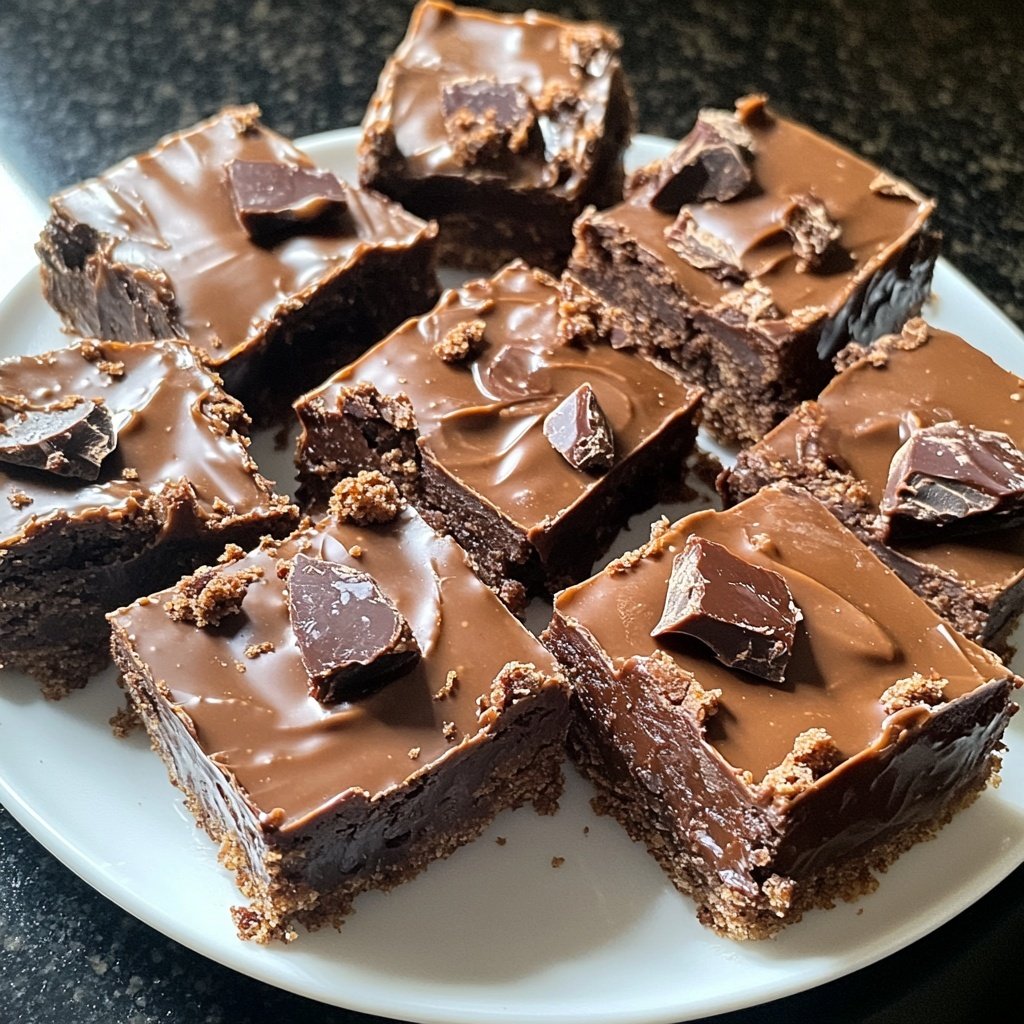
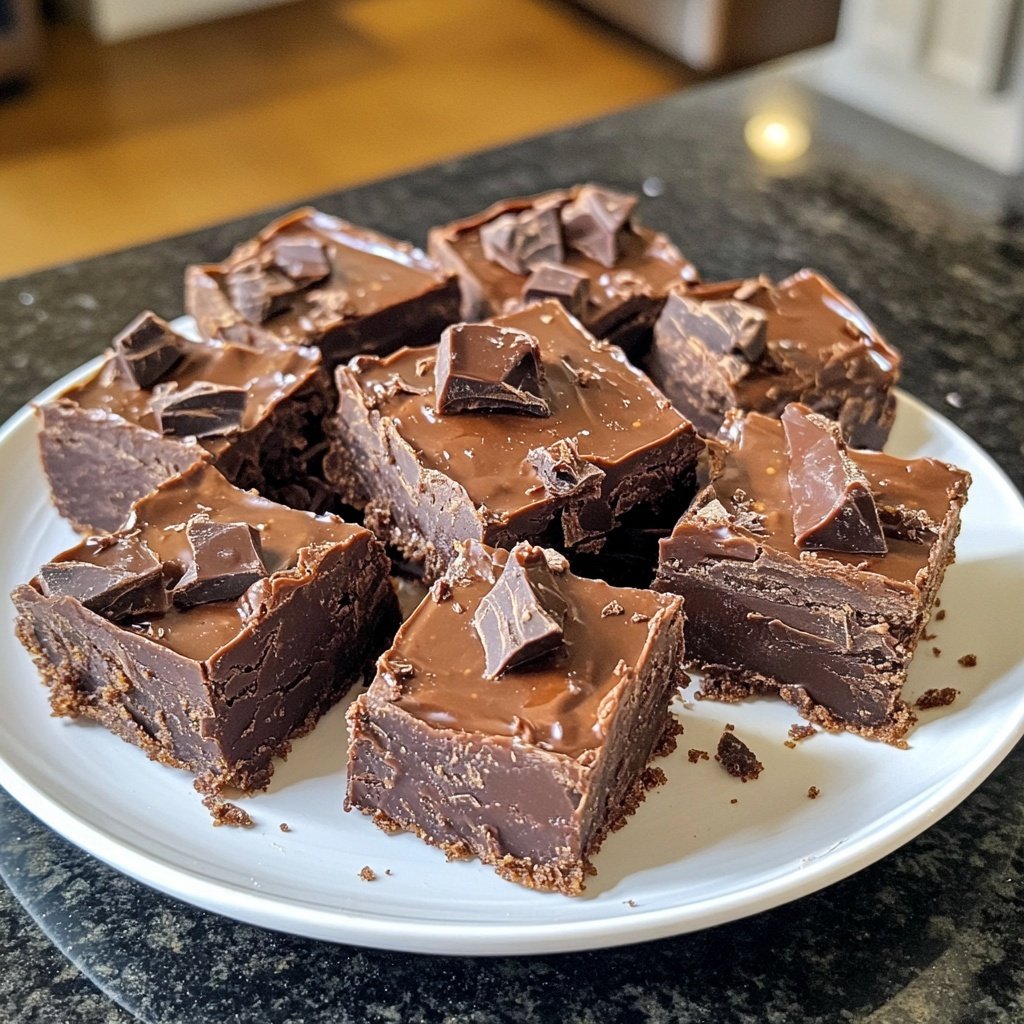
Valentines Treats Chocolate Fudge Squares
Uitgelicht onder: Bakplezier
When I first tried making these Valentine’s Treats Chocolate Fudge Squares, I knew I had to nail that perfect balance between rich chocolate and a creamy texture. After many attempts, I’ve discovered that using both dark and milk chocolate creates a delightful depth of flavor. The addition of a pinch of sea salt elevates the sweetness beautifully. The best part? They’re incredibly easy to make, and the results are always a hit! Everyone loves these simple yet indulgent treats, making them perfect for sharing on special occasions.
While experimenting with fudge recipes, I realized the importance of timing and temperature. The chocolate should be melted just enough to combine without scorching. After removing it from the heat, letting it cool slightly before mixing in other ingredients ensures a smooth texture. Trust me, this minor step can make all the difference!
What truly drives the flavor in these fudge squares is the mix of dark and milk chocolate. The dark chocolate’s bitterness contrasts perfectly with the sweetness of the milk chocolate, resulting in a well-balanced treat that’s not overly sweet. I often add little surprises like nuts or marshmallows for texture, making each bite exciting.
Why You Will Love These Fudge Squares
- Rich chocolate flavor that satisfies any sweet tooth
- Creamy texture that melts in your mouth
- Easily customizable with fun mix-ins for a unique twist
Understanding Fudge Texture
Achieving the perfect fudge texture is all about balancing the ratios of chocolate to sweetened condensed milk. The condensed milk adds not just sweetness but also a creamy richness that binds everything together. If you prefer a thicker fudge, you can increase the chocolate chips by an additional half cup. Just keep an eye on the melting process—too much heat can cause the chocolate to seize, resulting in a gritty texture instead of the smooth finish we want.
Another aspect to consider is the chilling time. Allowing your fudge to set in the refrigerator for at least two hours helps it firm up and develop that desirable chewy bite. If you're short on time, a quick 30-minute freeze can help it along, but make sure to check frequently to prevent it from becoming too hard.
Customizing Your Fudge Squares
One of the joys of making fudge squares is their versatility. You can easily customize the base recipe by adding different ingredients. For a nutty crunch, consider folding in a cup of chopped walnuts or pecans after melting the chocolate. Alternatively, if you love a bit of texture, add crispy rice cereal to the mixture—just be sure to incorporate it gently to avoid breaking the cereal pieces.
For a flavor twist, you can experiment with extracts beyond vanilla. A splash of almond extract can create an entirely new experience, while peppermint extract offers a refreshing twist ideal for the holiday season. Always start with a small amount, taste, and adjust as needed to enhance, rather than overwhelm, the chocolate flavor.
Serving and Storing Suggestions
These fudge squares can be a delightful gift when packaged in decorative boxes. Simply cut them into uniform pieces, stack them neatly, and seal with a ribbon. I like to add a small note recommending the best time to enjoy them—ideally paired with a warm cup of coffee or as a sweet after-dinner treat. They can also serve as an excellent base for layered desserts, crumbled over ice cream or yogurt for added indulgence.
For storage, these fudge squares should be kept in an airtight container in the refrigerator and can last up to two weeks. If you want to extend their lifespan, freezing is an option—just wrap each piece individually in plastic wrap and store in a freezer bag. They will retain their taste and texture for up to three months, making them perfect for unexpected guests or late-night cravings.
Ingrediënten
Ingredients
For the Fudge
- 2 cups semi-sweet chocolate chips
- 1 cup milk chocolate chips
- 1 can (14 oz) sweetened condensed milk
- 1/2 cup unsalted butter
- 1 tsp vanilla extract
- Pinch of sea salt
Make sure to measure all ingredients accurately for the best results.
Bereidingswijze
Instructions
Prepare the Pan
Line an 8-inch square baking pan with parchment paper, allowing the edges to hang over for easy removal later.
Melt the Chocolate
In a medium saucepan over low heat, combine the semi-sweet and milk chocolate chips with unsweetened condensed milk and butter. Stir constantly until fully melted and smooth.
Add Flavor
Remove from heat and stir in vanilla extract and a pinch of sea salt. Mix well to ensure even flavor distribution.
Pour into Pan
Pour the fudge mixture into the prepared pan and spread evenly with a spatula.
Chill and Set
Refrigerate for at least 2 hours or until set. Once firm, lift the fudge out by the parchment paper and cut it into squares.
Store any leftovers in an airtight container in the refrigerator.
Professionele Tips
- For a fun twist, try adding crushed nuts or a swirl of peanut butter into the fudge before it sets.
Tips for Perfect Melting
Melting chocolate can be tricky, especially if it's done too quickly. Always use low heat and keep stirring the mixture to prevent burning. If you notice any lumps in the chocolate, don't panic; just continue stirring gently until you reach a glossy and smooth consistency. If the mixture has thickened too much, you can add a teaspoon of coconut oil to ease it back to pouring consistency without compromising the taste.
A double boiler method can also be effective for melting chocolate, as it provides a gentle, even heat. Place a heatproof bowl atop a pot of simmering water, ensuring the bowl does not touch the water. This method minimizes the risk of overheating and gives you more control over the melting process.
Dietary Adjustments
For those who need a dairy-free option, substituting coconut milk for sweetened condensed milk can work well, but ensure to use high-quality coconut milk for the best creaminess. Additionally, opting for dairy-free chocolate chips ensures that everyone can enjoy your treats. The texture may vary slightly, so a bit of additional coconut oil can help maintain the creaminess while blending.
If sugar content is a concern, consider using sugar-free chocolate chips and a sugar substitute suitable for baking. This can reduce the overall sweetness but might require some adjustments in the melting process, so monitor the heat closely to ensure the chocolate achieves that smooth consistency.
Vragen Over Recepten
→ Can I use different types of chocolate?
Absolutely! You can mix and match dark, milk, or even white chocolate to your liking.
→ How should I store leftover fudge?
Store leftover fudge in an airtight container in the refrigerator for up to two weeks.
→ Can I freeze this fudge?
Yes, you can freeze the fudge! Just cut it into squares and store in a freezer-safe container for up to three months.
→ What can I add to customize the fudge?
Feel free to add nuts, dried fruit, or even sprinkles for an extra touch.
Valentines Treats Chocolate Fudge Squares
Gemaakt door: Xanthe Beaumont
Recepttype: Bakplezier
Vaardigheidsniveau: Easy
Eindportie: 16 squares
Wat je Nodig Hebt
For the Fudge
- 2 cups semi-sweet chocolate chips
- 1 cup milk chocolate chips
- 1 can (14 oz) sweetened condensed milk
- 1/2 cup unsalted butter
- 1 tsp vanilla extract
- Pinch of sea salt
Stappen
Line an 8-inch square baking pan with parchment paper, allowing the edges to hang over for easy removal later.
In a medium saucepan over low heat, combine the semi-sweet and milk chocolate chips with unsweetened condensed milk and butter. Stir constantly until fully melted and smooth.
Remove from heat and stir in vanilla extract and a pinch of sea salt. Mix well to ensure even flavor distribution.
Pour the fudge mixture into the prepared pan and spread evenly with a spatula.
Refrigerate for at least 2 hours or until set. Once firm, lift the fudge out by the parchment paper and cut it into squares.
Extra Tips
- For a fun twist, try adding crushed nuts or a swirl of peanut butter into the fudge before it sets.
Voedingswaarde (Per Portie)
- Calories: 380 kcal
- Total Fat: 26g
- Saturated Fat: 15g
- Cholesterol: 195mg
- Sodium: 85mg
- Total Carbohydrates: 32g
- Dietary Fiber: 3g
- Sugars: 24g
- Protein: 6g